
3Ds Max - How to create a matress

Hello guys, after few days busy doing some work, we're now come back for another tutorials, and in this chance, we're going to learn how to create a matress.
First of all, you don't need to follow 100% of what I'm doing, it's just for some guidance, as there's many way to create a matress, but at this momment, we'll be covering up one way to create it.
And without any further, let's open up our software, and get started.
1. Change our model's scale
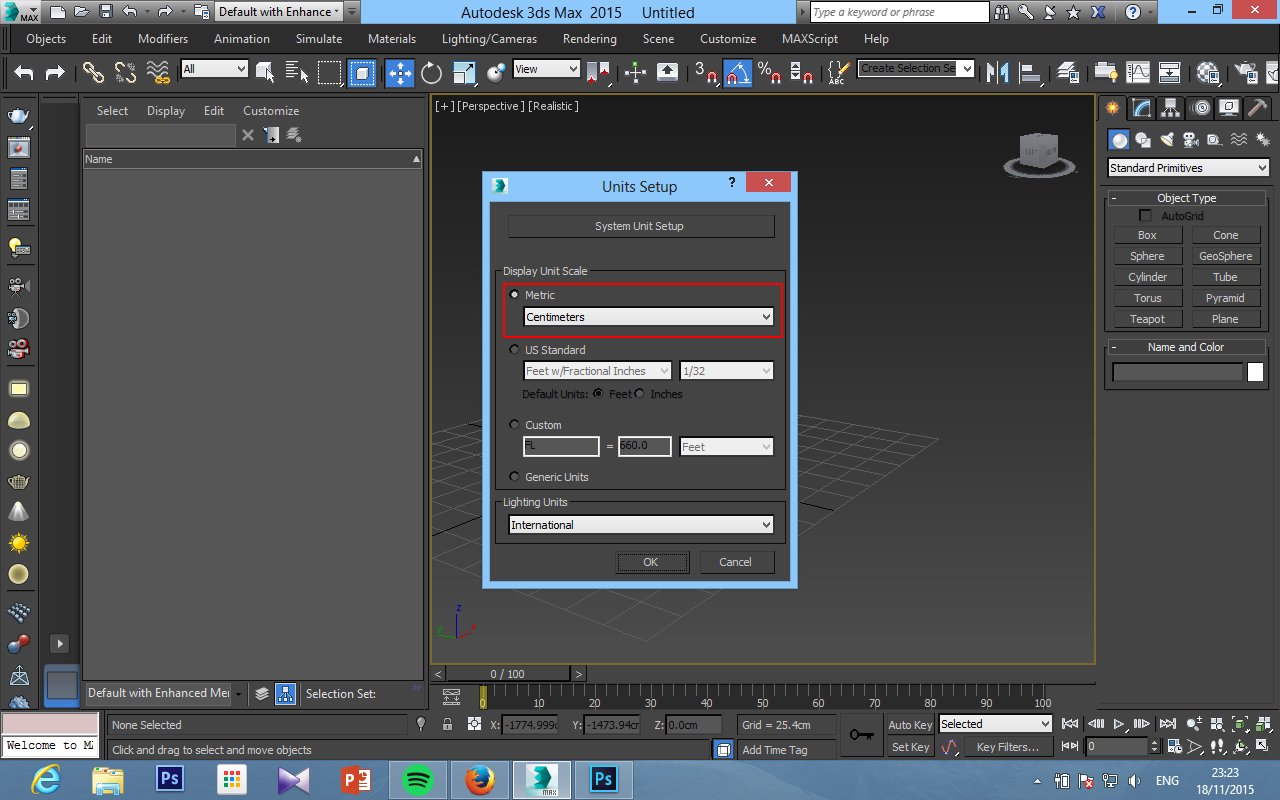
As usual, let's change our model setup, it depends on what you want to use actually, but I'll be using cm at this time. To change our model's scale go to Customize > Unit Setup > Metric > Centimeters.
2. Modelling the bed
As we know before, there's many way to create matress, but today, we'll be covering only one way to create it, by using a box.
So, first of all let's create a box with this setting.

Make sure to put alot of segment to our box, we'll know the reason later on.
Then, what we need to do next, is to go to the Modifier panel and choose Relax modifier, and put this setting.

Soon we'll realise it's becoming much smoother, but decreases in size, but don't worry it's normal. And this is also the reason why we should put lot of segment, because, if you only have few segment, and you put this modifier, the bed will become so small, and the shape will turn into something like chamferbox shapes.
Next, in the modifier panel, find and choose Turbosmooth modifier.

The results will be even smoother, and beautiful. But it's end up here, what we need to do now, is to make a shape around the matress. There's two ways to do this, either we put a "Edit Poly" modifier, or right click, and Convert to Editable Poly.
After we done that, choose the line section, and choose the line like the picture below. Just select one on each side, then press Loop. It will directly loop all the line we chosen just now.

Now, scroll down and find "Create shape". Once we click it, choose smooth, and a shape will be made.

Don't panic if the shape isn't going out, on the left panel, go and find the shape, and click it, and tick the checkbox for the shape to be appear, and change the setting as below.

To put a little bit more realism, we could make some bumps on it's surface. And to do that, scroll down, and find "Push / Pull" Button, and change the setting as below.

By the end, we'll have results like this.

3. Assigning the materials
Ok, this probably the first time, we cover up the materials.
I'm using Vray currently, but of course you guys still can follow up with different kind of materials.
So, first of all, change the diffuse color to white (Or whatever colour you want), then scroll to the bottom, and in the "Maps" section, find bump and select the box behind it, select bitmap, and choose the picture, which can be downloaded here.

We probably wondering, why the texture's is really weird, once again, don't be panic, let's go and add a UV Map modifier on our bed, and change the setting as below picture.

In case, what we're seeing isn't the colour we pick, on the material editor, click on the small icon which called "Show shaded in viewport", this will fix the problem. :)
So, in that way, our matress is done! Sorry I'm a little bit rush in some part, it's middle of night, and I'm feel really sleepy, so I'm going to bed now, and see you guys tomorrow! :D
I hope this tutorials will help, and I do hope, in the future, I could give more advanced tutorials, like room, and some setup.


